

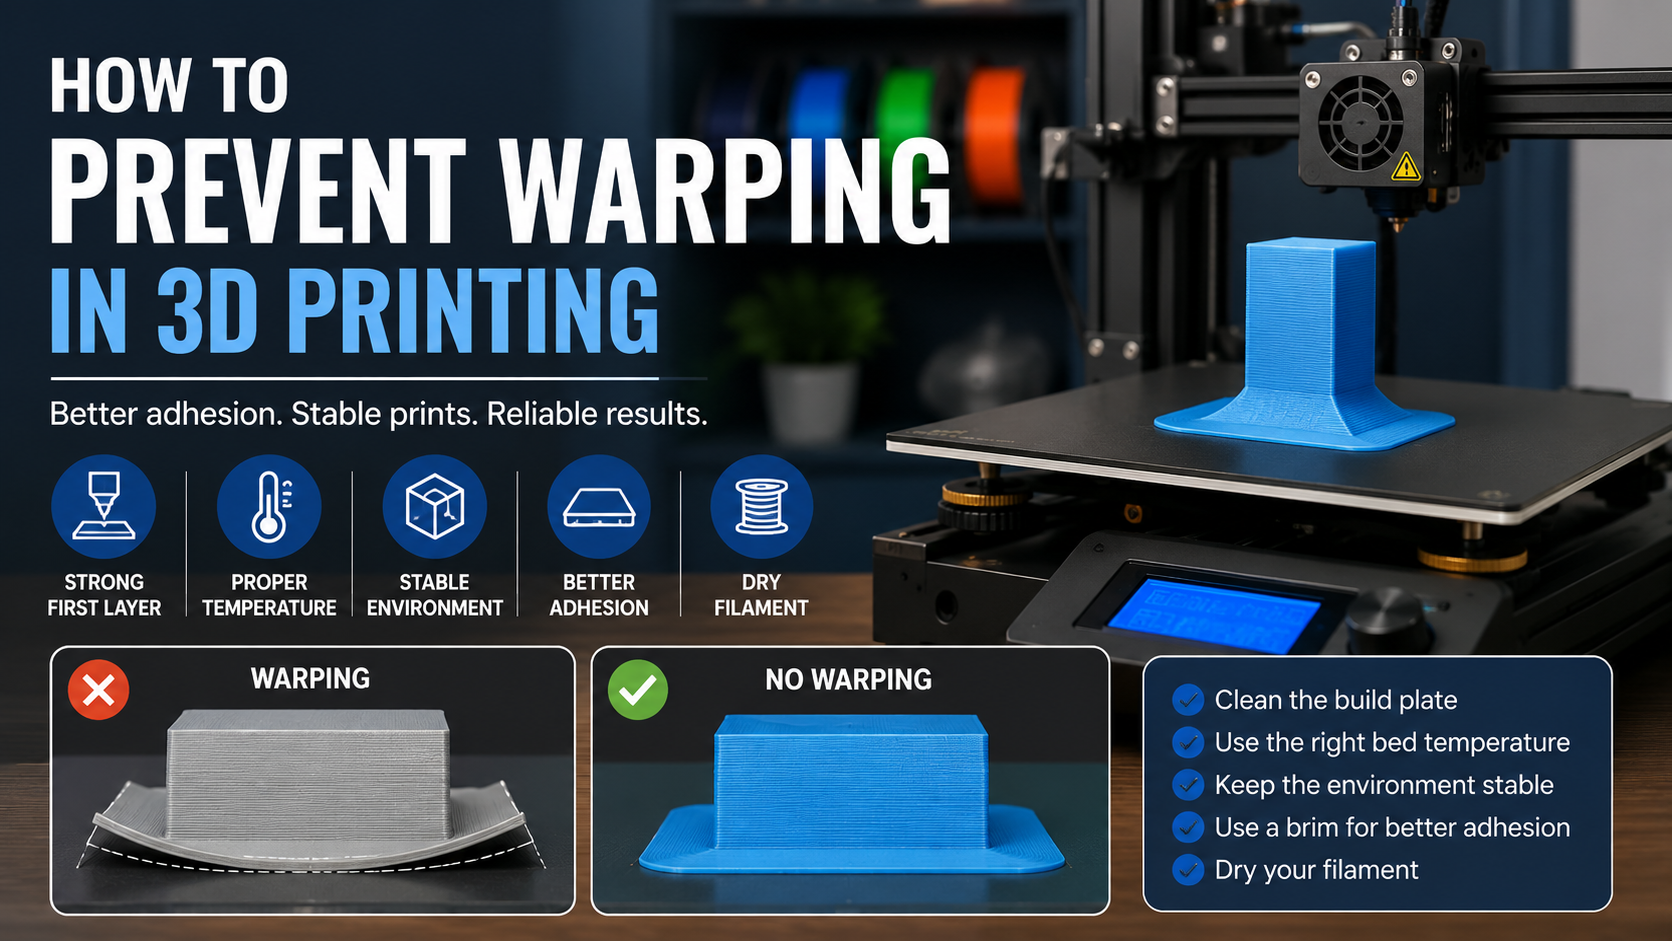
How to Prevent Warping in 3D Printing
Warping is one of the most common problems in FDM 3D printing. It happens when part of the print lifts away from the build plate, usually at the corners or edges.
A small amount of warping may only affect appearance. More severe warping can deform the entire model, cause layer shifts or make the print fail completely.
The good news is that most warping problems can be reduced by improving first-layer adhesion and keeping the printing temperature more stable.
Why Does Warping Happen?
Plastic expands when heated and contracts as it cools.
During 3D printing, the lower layers begin cooling while the upper layers are still being deposited. If the material contracts unevenly, internal stress develops inside the part. This stress can pull the edges upward and separate the print from the build plate.
Warping is more common with:
- ABS
- ASA
- PC
- PA and nylon materials
- Large, flat models
- Parts with sharp corners
- Prints made in cold or drafty environments
PLA and PETG are generally less prone to warping, but they can still lift if the build plate is dirty or the first layer is poorly calibrated.
1. Clean the Build Plate
A clean build surface is essential for reliable adhesion.
Dust, grease and fingerprints can prevent the filament from bonding properly to the plate. Even when the plate looks clean, skin oils may remain on the surface.
Before printing:
- Remove loose dust
- Wash the plate according to its recommended cleaning method
- Avoid touching the printable area
- Allow the surface to dry completely
Different build plates may require different cleaning products, so always follow the plate manufacturer’s instructions.
2. Check the First Layer
The first layer creates the foundation for the entire print.
If the nozzle is too far from the build plate, the filament may not be pressed firmly enough onto the surface. If the nozzle is too close, extrusion can become restricted or uneven.
A good first layer should look smooth and continuous, with adjacent lines touching each other without large gaps.
Check:
- Bed leveling
- Z-offset
- Nozzle condition
- First-layer flow
- First-layer speed
Automatic calibration helps, but it is still useful to inspect the first layer before leaving a long print unattended.
3. Use the Correct Bed Temperature
The heated build plate helps the first layers remain warm and attached.
If the bed temperature is too low, the material may cool and contract too quickly. If it is too high, the lower layers may become overly soft or difficult to remove after printing.
Use the filament manufacturer’s recommended temperature range as the starting point.
Typical materials may require different conditions:
- PLA usually needs moderate bed heating
- PETG generally requires a warmer build plate
- ABS and ASA often need higher and more stable temperatures
- PC and PA may require specialized plates and enclosed heating
Do not apply one temperature setting to every material.
4. Reduce Drafts and Temperature Changes
Cold air from windows, fans or air-conditioning can cool one side of the print faster than the other.
This uneven cooling increases internal stress and can cause corners to lift.
For open-frame printers:
- Move the printer away from windows
- Avoid direct air-conditioning
- Keep the room temperature stable
- Use a suitable enclosure when required
For enclosed printers, keep the door and top cover configured according to the material being printed. Some low-temperature materials may need ventilation, while engineering materials often benefit from a warmer chamber.
5. Use an Enclosed Printer for Difficult Materials
ABS, ASA, PC and PA are more sensitive to temperature changes than PLA.
An enclosed printer helps retain heat around the model and reduces sudden cooling. Actively heated chambers provide even greater temperature stability for demanding materials and larger parts.
An enclosure is especially useful for:
- Large ABS or ASA parts
- Functional engineering components
- Long prints
- Models with wide flat bases
- Parts requiring high dimensional accuracy
However, an enclosure does not replace correct bed preparation and first-layer calibration.
6. Add a Brim
A brim adds extra lines around the outside of the model’s first layer.
It increases the contact area between the print and the build plate, giving corners more support against lifting.
A brim is useful for:
- Narrow parts
- Sharp corners
- Tall models
- ABS and ASA prints
- Parts with limited build-plate contact
After printing, the brim can be removed from the model.
A raft provides even more support, but it uses more material and may leave a rougher bottom surface. For most warping problems, try a brim first.
7. Adjust Cooling Settings
Part cooling is important for detail and overhangs, but excessive cooling in the early layers can increase warping.
For materials such as ABS and ASA, the part-cooling fan may need to stay off or run at a low level.
For PLA, stronger cooling is usually acceptable after the first few layers.
A practical approach is to:
- Reduce cooling during the first layers
- Increase fan speed gradually
- Use material-specific cooling settings
- Avoid applying PLA cooling settings to engineering materials
8. Improve the Model Orientation
The way a part is positioned on the build plate can affect warping.
Large flat surfaces may develop more stress than smaller contact areas. Sharp corners also tend to lift more easily than rounded ones.
Where possible:
- Rotate the part to reduce large flat areas
- Add rounded corners
- Split very large parts into smaller sections
- Avoid unnecessary solid layers
- Use an appropriate infill pattern
Good model design can reduce stress before printing even begins.
9. Dry the Filament
Moisture can cause unstable extrusion, bubbles and poor layer consistency.
Although wet filament is not always the main cause of warping, inconsistent extrusion can weaken the first layer and reduce adhesion.
Store opened filament in airtight containers with suitable desiccant. Dry the filament according to the manufacturer’s instructions when moisture-related symptoms appear.
Quick Warping Checklist
Before restarting a failed print, check:
- Is the build plate clean?
- Is the first layer properly calibrated?
- Is the bed temperature correct?
- Is the printer exposed to cold air?
- Does the material require an enclosure?
- Would a brim improve adhesion?
- Is the cooling fan too strong?
- Is the filament dry?
- Can the model orientation be improved?
Final Thoughts
Warping is usually caused by a combination of poor adhesion and uneven cooling.
Start with the basics: clean the build plate, inspect the first layer and use the correct temperature settings. For difficult materials, control the surrounding temperature with an enclosure and reduce drafts.
A brim, slower first layer and material-specific cooling settings can also improve reliability.
Solving warping does not always require changing the printer. In many cases, careful preparation and stable printing conditions are enough to produce flatter, more accurate parts.